Develop With Farm
In this chapter, we will introduce commonly used configuration and plugins to help you build complex production-ready web project with Farm.
This chapter reuse the project we created in chapter 1
We'll setup our project step by step:
- Introduce popular component library
antd, and configure necessary plugins for it - Introduce commonly used plugins like postcss, svgr, less and so on.
- Configure proxies and other useful dev server options
Introduce Component Library
A component library is often necessary when develop a web project, in this section, we will use ant-design as a demo to show How to add component libraries in Farm.
We use ant design here only for illustration, you can introduce any component library. Farm does not have objection.
First we need to install ant-design into our project:
pnpm add antd # execute under project root
Ant Design needs Sass, so we also need to install plugins for compiling scss. We can use @farmfe/plugin-sass which is a Rust Plugin officially provided by Farm:
pnpm add @farmfe/plugin-sass -D
Then add this plugin to plugins:
// ...

export default defineConfig({
  // ... ignore other fields
  plugins: ["@farmfe/plugin-react", "@farmfe/plugin-sass"],
});
Now Antd is ready, add it to our project:
import React from "react";
import { createRoot } from "react-dom/client";
import { DatePicker } from "antd";
const container = document.querySelector("#root");
const root = createRoot(container);
root.render(
<div>
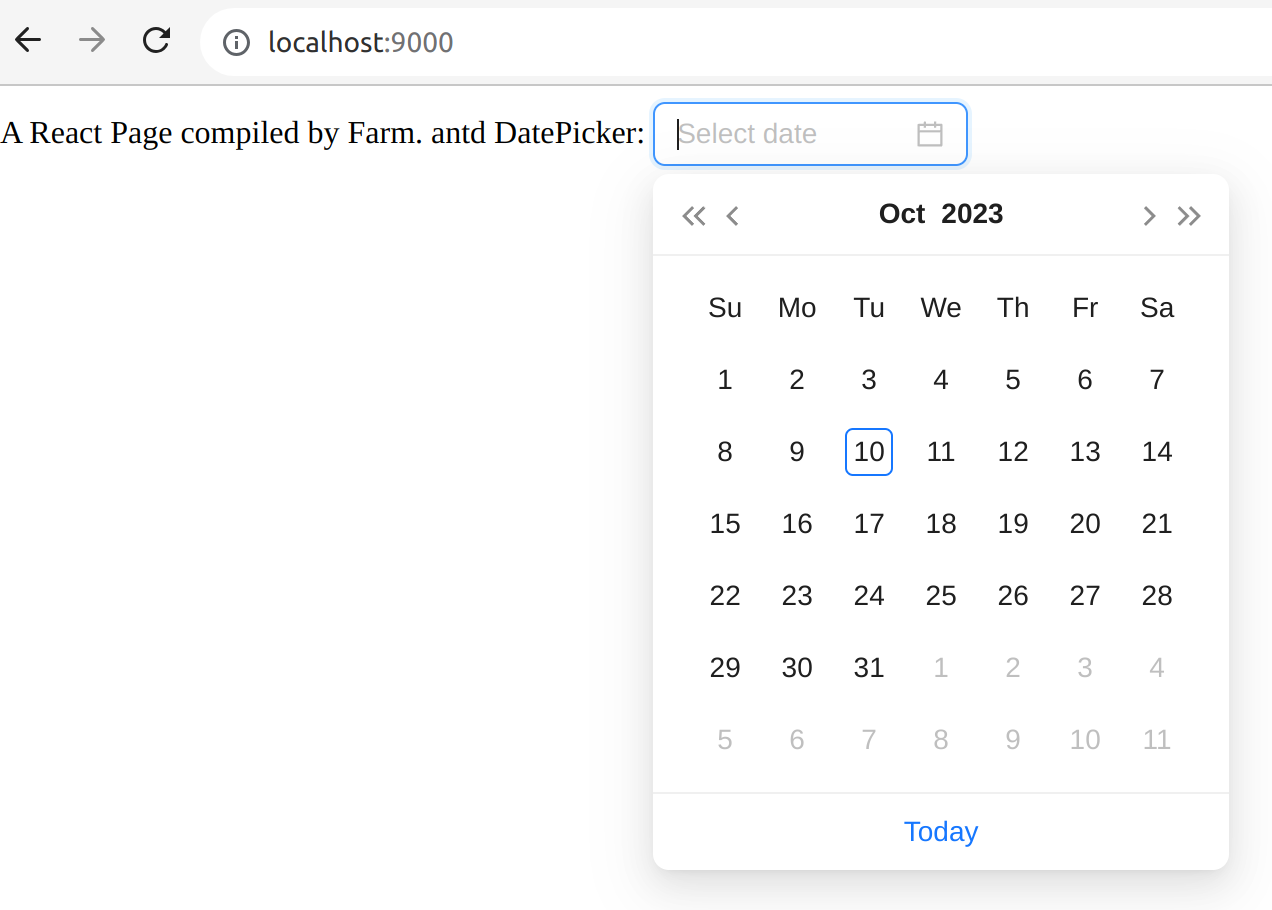
A React Page compiled by Farm. antd DatePicker: <DatePicker />
</div>
);
Then execute npm start and open http://localhost:9000 in browser:
Styling the Project
Now we have successfully introduced a component library into our project. Next we'll learn how to styling.
Create a Basic Admin Site Layout
First we create a new app.tsx next to index.tsx:
.
├── farm.config.ts
├── package.json
├── pnpm-lock.yaml
└── src
    ├── index.html
    ├── app.tsx
    └── index.tsx
Content of app.tsx(It's demo code from official site of Antd):
import React from "react";
import { Breadcrumb, Layout, Menu, theme } from "antd";

const { Header, Content, Footer } = Layout;

const App: React.FC = () => {
  const {
    token: { colorBgContainer },
  } = theme.useToken();

  return (
    <Layout className="layout">
      <Header style={{ display: "flex", alignItems: "center" }}>
        <div className="demo-logo" />
        <Menu
          theme="dark"
          mode="horizontal"
          defaultSelectedKeys={["2"]}
          items={new Array(15).fill(null).map((_, index) => {
            const key = index + 1;
            return {
              key,
              label: `nav ${key}`,
            };
          })}
        />
      </Header>
      <Content style={{ padding: "0 50px" }}>
        <Breadcrumb style={{ margin: "16px 0" }}>
          <Breadcrumb.Item>Home</Breadcrumb.Item>
          <Breadcrumb.Item>List</Breadcrumb.Item>
          <Breadcrumb.Item>App</Breadcrumb.Item>
        </Breadcrumb>
        <div
          className="site-layout-content"
          style={{ background: colorBgContainer }}
        >
          Content
        </div>
      </Content>
      <Footer style={{ textAlign: "center" }}>
        Ant Design ©2023 Created by Ant UED
      </Footer>
    </Layout>
  );
};

export default App;
Then modify index.tsx as:
import React from "react";
import { createRoot } from "react-dom/client";

import App from "./app";
// import { DatePicker } from 'antd';

const container = document.querySelector("#root");
const root = createRoot(container);

root.render(
  <div>
    A React Page compiled by Farm.
    <App />
    {/* antd DatePicker: <DatePicker /> */}
  </div>
);
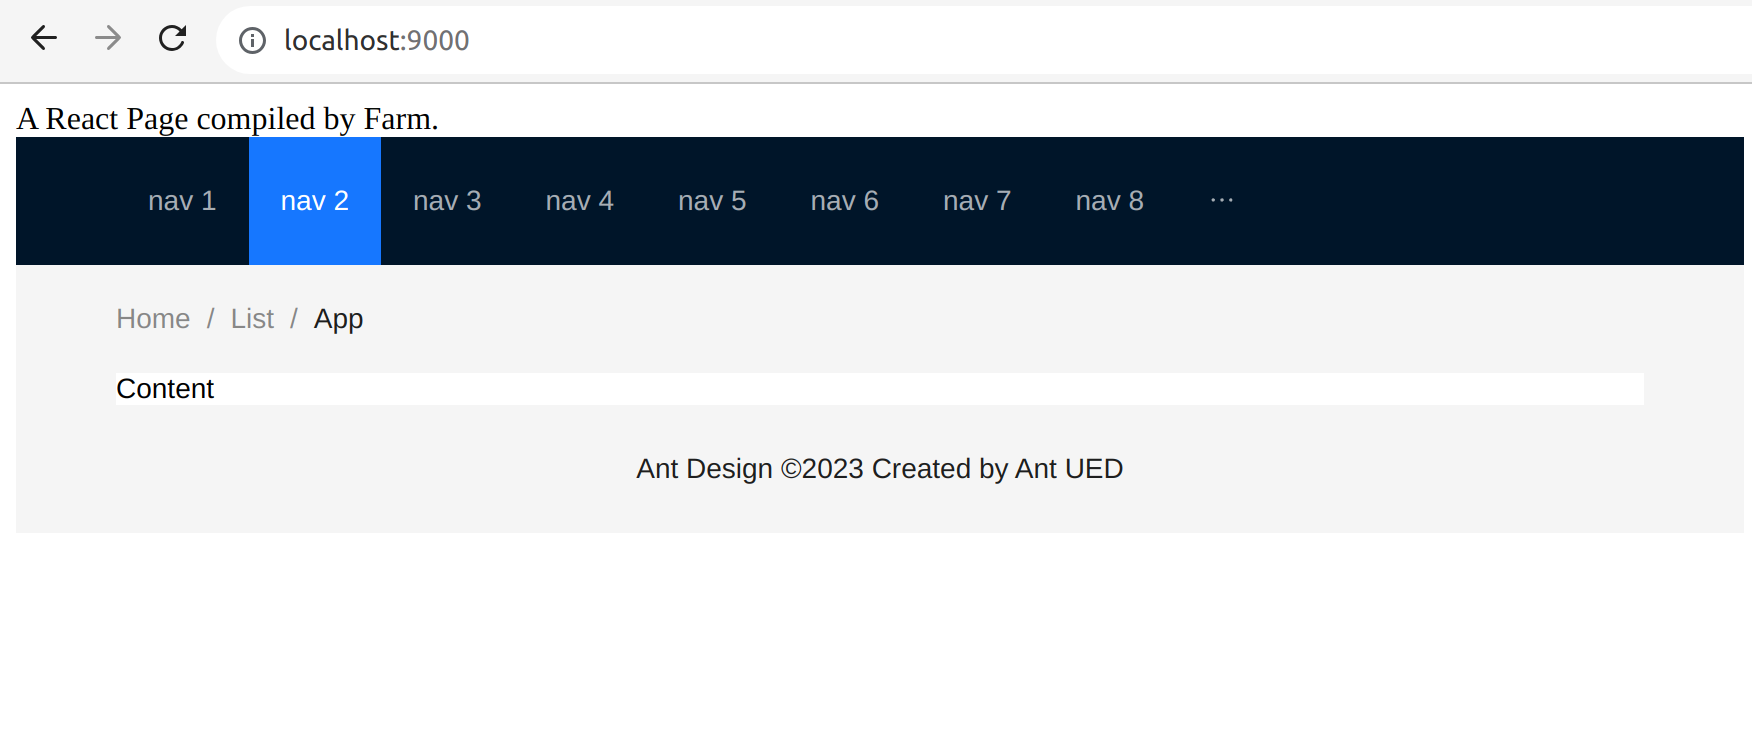
Then we get a Basic admin layout:
Styling With Css Modules
Farm supports css modules out of box, by default, Farm will treat any .module.(css|scss|less) as css modules. Firstly we create a app.module.scss:
.
├── farm.config.ts
├── package.json
├── pnpm-lock.yaml
└── src
    ├── index.html
    ├── app.tsx
    ├── app.module.scss
    └── index.tsx
Content of app.module.scss:
$primary-color: #1890ff;

.site-layout-content {
  min-height: 200px;
  padding: 24px;
  font-size: 24px;
  color: $primary-color;
}
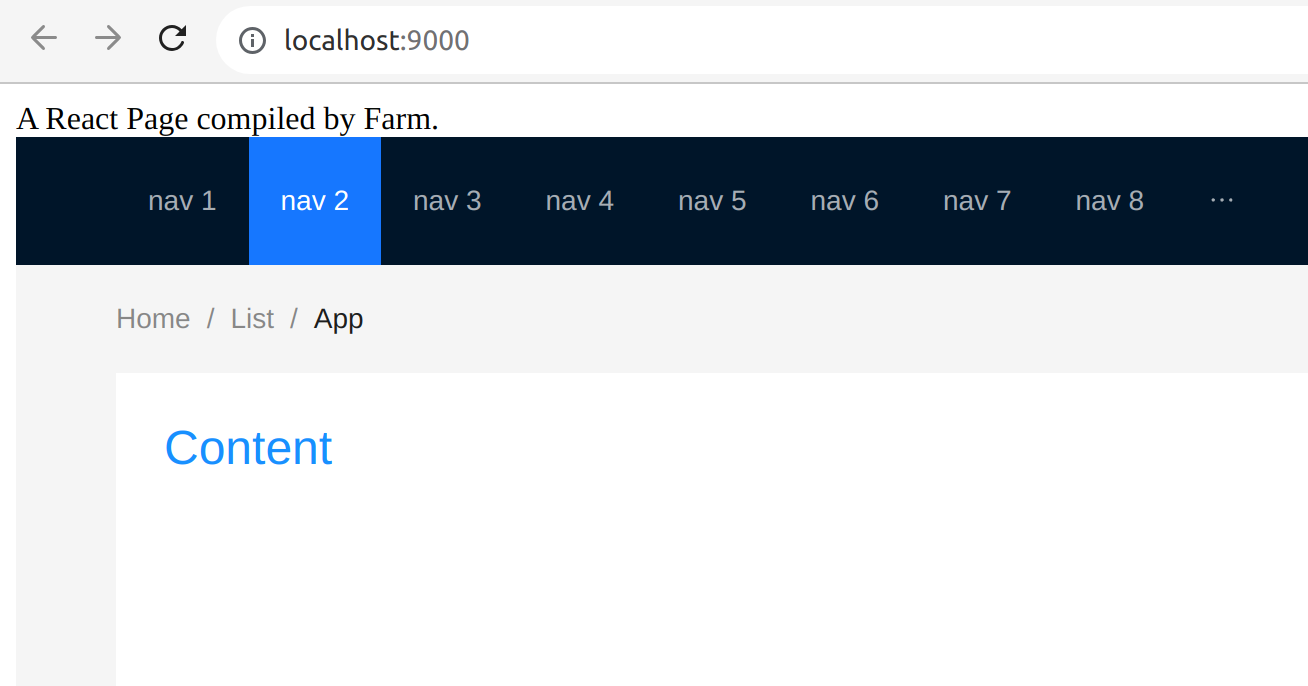
Then import app.module.scss in app.tsx and save it:
import styles from "./app.module.scss";
// ...
Then your page should be updated like below:
Using Css Preprocessor
Farm provided official js plugins for postcss(@farmfe/js-plugin-postcss) and less(@farmfe/js-plugin-less) (We have already installed rust plugin sass(@farmfe/plugin-sass) above).
To use postcss, First we need to install the plugin:
pnpm add -D @farmfe/js-plugin-postcss
then configure it in plugins of farm.config.ts:
// ...
import farmPluginPostcss from "@farmfe/js-plugin-postcss";

export default defineConfig({
  // ... ignore other fields
  plugins: ["@farmfe/plugin-react", "@farmfe/plugin-sass", farmPluginPostcss()],
});
Now postcss is fully supported in Farm, you can use popular postcss plugins tailwind, px2rem, etc. We won't cover postcss details here, refer to postcss docs for more details.
Refer to Farm Plugins to learn more about Farm plugins.
Using Public Directory
For assets that don't need compilation, you can put them under public directory. Add a favicon.ico under public:
.
├── ...
└── public
    └── favicon.icon
Then the favicon is available for your website. And you can also put some static assets that can be directly fetched, for example, images:
.
├── ...
└── public
    ├── favicon.icon
    └── images
        └── background.png
then you can use /images/background.png to fetch the image, for example, <img src="/images/background.png">.
Using config option publicDir to custom your public directory.
Configuring publicPath
Use compilation.output.publicPath to configuring url prefix for dynamic resources loading and when inject <script> and <link> tags into html. We add following config in farm.config.ts
// ...

export default defineConfig({
  compilation: {
    output: {
      publicPath:
        process.env.NODE_ENV === "production" ? "https://cdn.com" : "/",
    },
  },
  // ...
});
When building, the injected resources url would be https://cdn.com/index-s2f3.s14dqwa.js. For example, in your output html, all <script> and <link> would be:
<html>
  <head>
    <!-- ... -->
    <link href="https://cdn.com/index-a23e.s892s1.css" />
  </head>
  <body>
    <!-- ... -->
    <script src="https://cdn.com/index-s2f3.s14dqwa.js"></script>
  </body>
</html>
and when loading dynamic scripts and css, the dynamic fetched resources url would also be: https://cdn.com/<asset-path>
Configuring Alias And Externals
Alias and externals are also most useful configurations, we can use compilation.resolve.alias and compilation.externals in Farm:
// ...

export default defineConfig({
  compilation: {
    resolve: {
      alias: {
        "@/": path.join(process.cwd(), "src"),
      },
    },
    externals: ["node:fs"],
  },
  // ...
});
Configuring DevServer
You can find server configuration in Farm Dev Server Options.
Useful Configuration
Example configuration:
import { defineConfig } from '@farmfe/core';

export default defineConfig({
   // All dev server options are under server
   server: {
     open: true,
     port: 9001,
     hmr: {
       // Configure the port for web socket listening
       port: 9801
       // Configure the host for web socket listening
       host: 'localhost',
       // Files to ignore when configuring file monitoring
       ignores: ['auto_generated/*']
     }
     //...
   }
});
For above examples, we used following options:
- open: open the browser with specified port automatically
- port: set the dev sever port to
9001 - hmr: set the hmr port and watched files, we ignores file changes under
auto_generateddirectory.
Setup Proxy
Configure server proxy. farm uses http-proxy as a proxy for the development server. Based on http-proxy implementation, specific options refer to its documentation, example:
import { defineConfig } from "@farmfe/core";

export default defineConfig({
  server: {
    proxy: {
      "/api": {
        target: "https://music-erkelost.vercel.app/banner",
        changeOrigin: true,
        pathRewrite: (path: any) => path.replace(/^\/api/, ""),
      },
    },
  },
});
Configuring root and envDir
Use root and envDir to specify your project root and the directory to load env variables. Add following options in farm.config.ts:
import path from "node:path";
import { defineConfig } from "@farmfe/core";

export default defineConfig({
  root: path.join(process.cwd(), "client"),
  envDir: "my-env-dir",
});
For details about envDir, see Environment Variables and Modes