2. 使用 Farm 开发项目
在本章中,我们将介绍常用的配置和插件来帮助您使用 Farm 构建复杂的生产就绪的 Web 项目。
本章重用我们在第 1 章中创建的项目
我们将逐步设置我们的项目: 1.引入流行的组件库antd,并为其配置必要的插件 2.介绍postcss、svgr、less等常用插件。 3. 配置代理和其他有用的开发服务器选项
引入组件库
开发 Web 项目时常常需要用到组件库,本节我们将使用ant-design作为 demo 来展示如何在 Farm 中添加组件库。
我们这里使用
ant design只是为了说明,你可以引入任何组件库。 对于组件库选择,Farm 没有任何倾向。
首先我们需要将 ant-design 安装到我们的项目中:
pnpm add antd # 在项目根目录下执行
Ant Design需要Sass,所以我们还需要安装编译 scss 的插件。 我们可以使用 Farm 官方提供的 Rust 插件 @farmfe/plugin-sass:
pnpm add @farmfe/plugin-sass -D
然后将此插件添加到plugins中:
// ...

export default defineConfig({
  // ... ignore other fields
  plugins: [
    '@farmfe/plugin-react',
    '@farmfe/plugin-sass'
  ]
});
现在 Antd 已经准备好了,将其添加到我们的项目中:
import React from 'react';
import { createRoot } from 'react-dom/client';

import { DatePicker } from 'antd';

const container = document.querySelector('#root');
const root = createRoot(container);

root.render(
  <div>
    A React Page compiled by Farm.
    antd DatePicker: <DatePicker />
  </div>
);
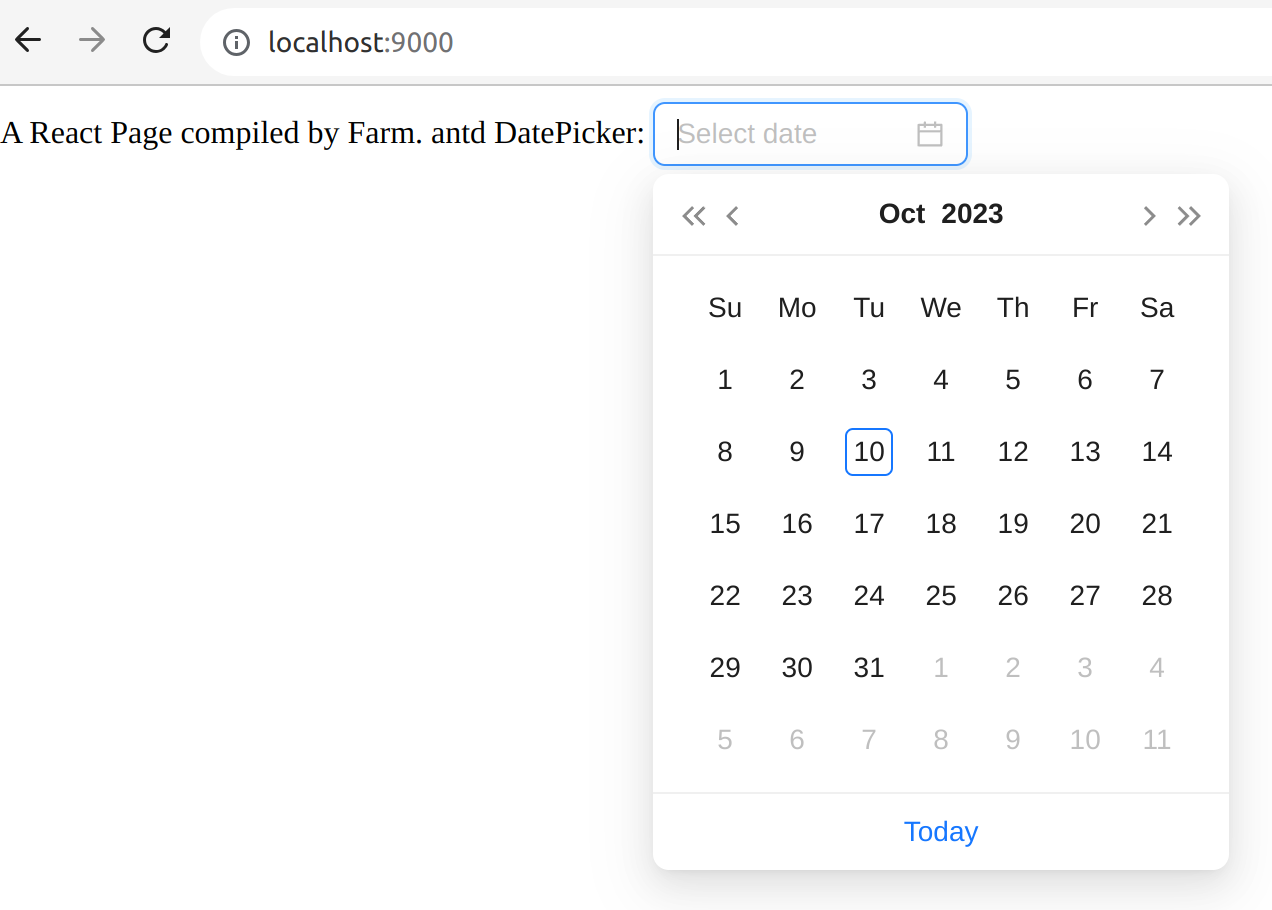
然后执行npm start并在浏览器中打开http://localhost:9000:


给项目添加 CSS 样式
现在我们已经成功地将组件库引入到我们的项目中。 接下来我们将学习如何给项目添加样式。
创建基本的管理站点布局
首先,我们在index.tsx旁边创建一个新的app.tsx:
.
├── farm.config.ts
├── package.json
├── pnpm-lock.yaml
└── src
    ├── index.html
    ├── app.tsx
    └── index.tsx
app.tsx的内容(来自Antd官网的演示代码):
import React from 'react';
import { Breadcrumb, Layout, Menu, theme } from 'antd';

const { Header, Content, Footer } = Layout;

const App: React.FC = () => {
  const {
    token: { colorBgContainer },
  } = theme.useToken();

  return (
    <Layout className="layout">
      <Header style={{ display: 'flex', alignItems: 'center' }}>
        <div className="demo-logo" />
        <Menu theme="dark" mode="horizontal" defaultSelectedKeys={['2']}
          items={new Array(15).fill(null).map((_, index) => {
            const key = index + 1;
            return {
              key,
              label: `nav ${key}`,
            };
          })}
        />
      </Header>
      <Content style={{ padding: '0 50px' }}>
        <Breadcrumb style={{ margin: '16px 0' }}>
          <Breadcrumb.Item>Home</Breadcrumb.Item>
          <Breadcrumb.Item>List</Breadcrumb.Item>
          <Breadcrumb.Item>App</Breadcrumb.Item>
        </Breadcrumb>
        <div className="site-layout-content" style={{ background: colorBgContainer }}>
          Content
        </div>
      </Content>
      <Footer style={{ textAlign: 'center' }}>Ant Design ©2023 Created by Ant UED</Footer>
    </Layout>
  );
};

export default App;
然后将 index.tsx 修改为:
import React from 'react';
import { createRoot } from 'react-dom/client';

import App from './app';
// import { DatePicker } from 'antd';

const container = document.querySelector('#root');
const root = createRoot(container);

root.render(
  <div>
    A React Page compiled by Farm.
    <App />
    {/* antd DatePicker: <DatePicker /> */}
  </div>
);
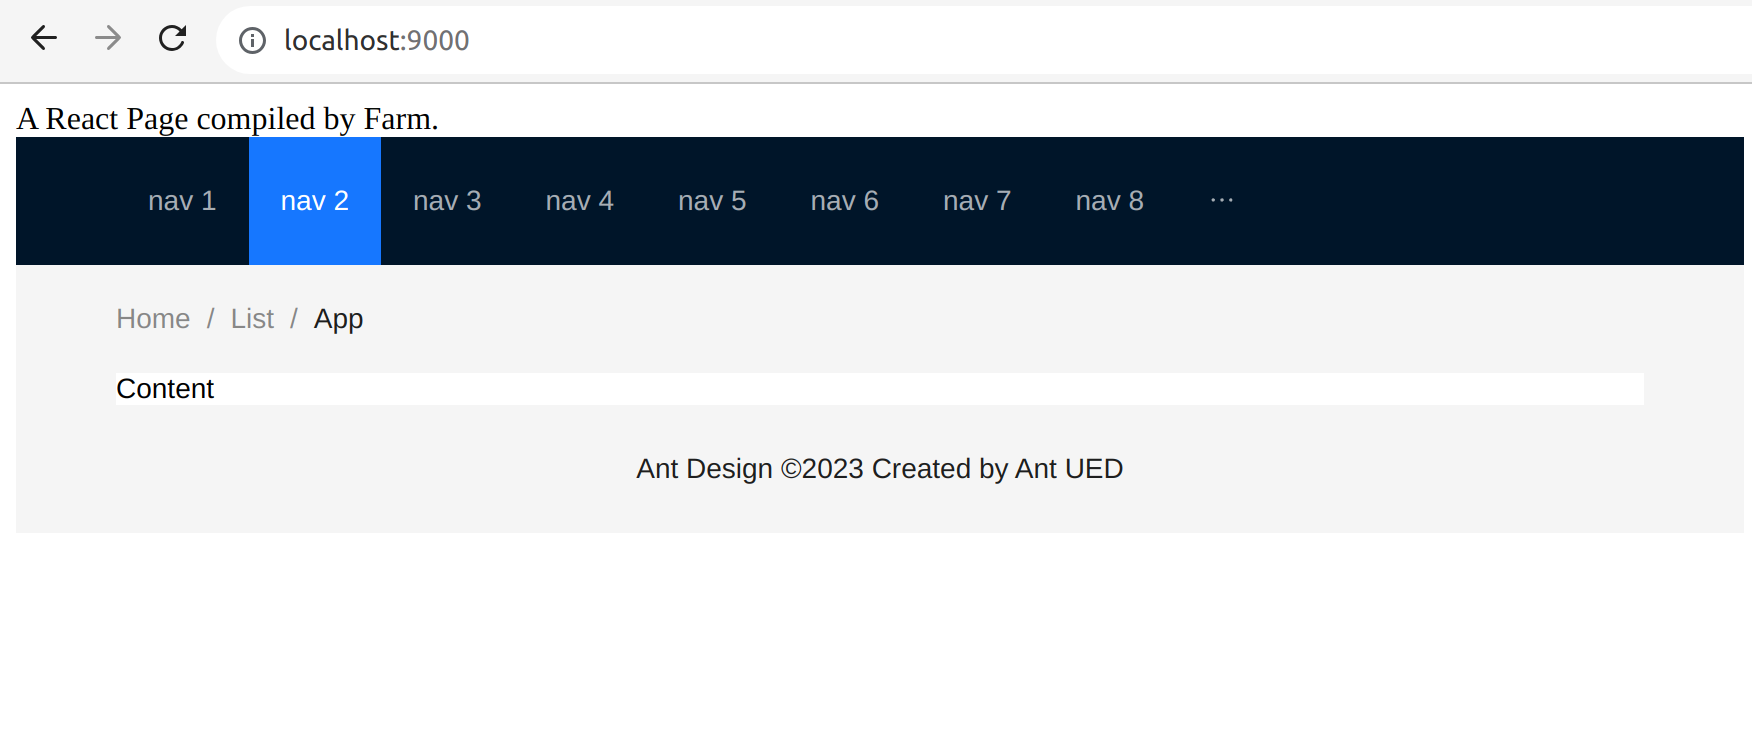
然后我们得到一个基本的管理站点布局:

使用 CSS Modules
Farm 开箱即用地支持css modules,默认情况下,Farm 会将任何.module.(css|scss|less)视为css 模块。 首先我们创建一个app.module.scss:
.
├── farm.config.ts
├── package.json
├── pnpm-lock.yaml
└── src
    ├── index.html
    ├── app.tsx
    ├── app.module.scss
    └── index.tsx
Content of app.module.scss:
$primary-color: #1890ff;

.site-layout-content {
  min-height: 200px;
  padding: 24px;
  font-size: 24px;
  color: $primary-color;
}
然后在app.tsx中导入app.module.scss并保存:
import styles from './app.module.scss';
// ...
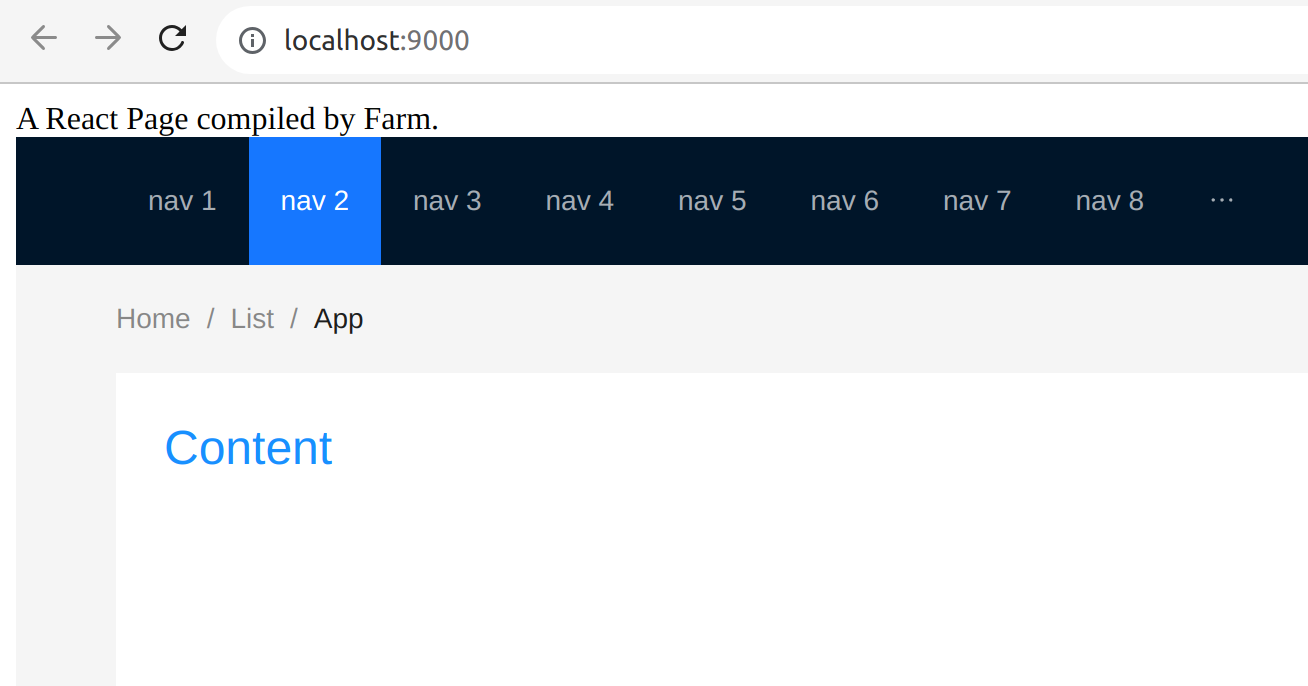
然后你的页面应该更新成如下:

使用 CSS 预处理器
Farm 为 postcss(@farmfe/js-plugin-postcss) 和 less(@farmfe/js-plugin-less) 提供了官方 js 插件(在上文中,我们已经安装了 sass 插件(@farmfe/plugin-sass))。
要使用postcss,首先我们需要安装插件:
pnpm add -D @farmfe/js-plugin-postcss
然后在farm.config.ts的plugins中配置它:
// ...
import farmPluginPostcss from '@farmfe/js-plugin-postcss';

export default defineConfig({
  // ... ignore other fields
  plugins: [
    '@farmfe/plugin-react',
    '@farmfe/plugin-sass',
    farmPluginPostcss()
  ]
});
现在 Farm 完全支持 postcss,我们不会在这里介绍 postcss 细节,请参阅 postcss 文档以获取更多详细信息。
请参阅 使用 Farm 插件 了解有关 Farm 插件的更多信息。
配置 public 目录
对于不需要编译的资源,可以将它们放在 public 目录下。 在public下添加favicon.ico:
.
├── ...
└── public
    └── favicon.icon
然后favicon即可用于您的网站。 你还可以放入一些可以直接获取的静态资源,例如图片:
.
├── ...
└── public
    ├── favicon.icon
    └── images
        └── background.png
使用配置选项 publicDir 自定义您的公共目录。
配置 publicPath
使用 compilation.output.publicPath 配置动态资源加载的 url 前缀 以及将 <script> 和 <link> 标签注入到 html 中时。 我们在 farm.config.ts 中添加以下配置:
// ...
export default defineConfig({
  compilation: {
    output: {
      publicPath: process.env.NODE_ENV === 'production' ? 'https://cdn.com' : '/'
    }
  }
  // ...
});
在构建时,注入的资源 URL 将类似 https://cdn.com/index-s2f3.s14dqwa.js。 例如,在输出 html 中,所有 <script> 和 <link> 将为:
<html>
  <head>
    <!-- ... -->
    <link href="https://cdn.com/index-a23e.s892s1.css" />
  </head>
  <body>
    <!-- ... -->
    <script src="https://cdn.com/index-s2f3.s14dqwa.js"></script>
  </body>
</html>
当加载动态脚本和CSS时,动态获取的资源url也将是:https://cdn.com/<asset-path>
配置 Alias 以及 Externals
Alias 和 externals 是最常用的配置之一, 在 Farm 中,可以使用 compilation.resolve.alias 和 compilation.externals 配置项:
// ...

export default defineConfig({
  compilation: {
    resolve: {
      alias: {
        "@/": path.join(process.cwd(), "src"),
      },
    },
    externals: ["node:fs"],
  },
  // ...
});
配置开发服务器
您可以在Farm Dev Server Config中找到服务器配置。
常用配置
配置示例:
import { defineConfig } from '@farmfe/core';

export default defineConfig({
   // 所有开发服务器选项都在 server 下
   server: {
     open: true,
     port: 9001,
     hmr: {
       // 配置Websocket的监听端口
       port: 9801
       host: 'localhost',
       // 配置文件监听时要忽略的文件
       ignores: ['auto_generated/*']
     }
     //...
   }
});
对于上面的示例,我们使用了以下选项:
- 打开:自动打开指定端口的浏览器
- 端口:将开发服务器端口设置为
9001 - hmr:设置 hmr 端口和监视文件,我们忽略
auto_generate目录下的文件更改。
Setup Proxy
配置服务器代理。基于 http-proxy 实现,具体选项参考其文档,示例:
import { defineConfig } from '@farmfe/core';

export default defineConfig({
    server: {
     proxy: {
       '/api': {
         target: 'https://music-erkelost.vercel.app/banner',
         changeOrigin: true,
         pathRewrite: (path: any) => path.replace(/^\/api/, ''),
       },
     },
   },
});
配置 root 和 envDir
使用root和envDir指定项目根目录和加载环境变量的目录。 在farm.config.ts中添加以下选项:
import path from 'node:path';
import { defineConfig } from '@farmfe/core';

export default defineConfig({
  root: path.join(process.cwd(), 'client'),
  envDir: 'my-env-dir'
});
有关 envDir 的详细信息,请参阅环境变量和模式
